So, you’ve just got yourself a brand new gaming headset and you can’t wait to jump into your favorite virtual world. But there’s just one small problem – you’re not quite sure how to Connect a Gaming Headset to your PC or console. Well, fear not! In this article, we’ll guide you through a series of easy steps that will have you up and running in no time. Whether you’re a seasoned gamer or a complete newbie, we’ve got you covered with a friendly and straightforward guide to help you connect your gaming headset seamlessly.
Hardware Requirements to Connect a Gaming Headset
Before you can connect your gaming headset to your PC or console, there are a few hardware requirements that you need to consider. Let’s go over them one by one to make sure you have everything you need.
Check the compatibility
The first thing you need to do is check the compatibility of your gaming headset with your PC or console. Headsets usually come with compatibility information on the packaging or in the user manual. Pay attention to the system requirements and make sure your PC or console meets them.
Make sure you have the necessary cables
Next, you need to make sure you have the necessary cables to connect your headset to your PC or console. Most gaming headsets come with a USB cable for PC connection and a 3.5mm audio jack for console connection. Check if your headset includes these cables or if you need to purchase them separately.
Ensure the headset is fully charged or has fresh batteries
If you have a wireless gaming headset, it’s important to ensure that it is fully charged or has fresh batteries before attempting to connect it to your PC or console. This will prevent any interruption during your gaming session and ensure that you can enjoy an uninterrupted audio experience.
Connect the Headset to PC
Connecting your gaming headset to your PC is a simple process. There are two common methods for connecting your headset to a PC: through a USB connection or a 3.5mm audio jack.
USB connection
If your gaming headset has a USB connector, you can simply plug it into an available USB port on your PC. Once connected, your PC should automatically detect the headset and install any necessary drivers. You may need to wait for a moment while the drivers are installed, but once they are, your headset should be ready to use.
3.5mm audio jack
If your gaming headset has a 3.5mm audio jack, you can connect it to the corresponding audio output jack on your PC. Most PCs have color-coded audio jacks, with green being the standard color for audio output. Simply locate the green audio jack on your PC and plug in the 3.5mm audio jack from your headset. Once connected, your PC should recognize the headset and you can start using it right away.

Connect the Headset to Console
Connecting your gaming headset to a console is also a straightforward process. There are two common methods for connecting your headset to a console: through a wired connection or a wireless connection.
Wired connection
To connect your gaming headset to a console using a wired connection, you will need to locate the appropriate port on your console. Consoles usually have a dedicated headphone jack where you can plug in the 3.5mm audio jack from your headset. Simply insert the audio jack into the port, and you should be good to go.
Wireless connection
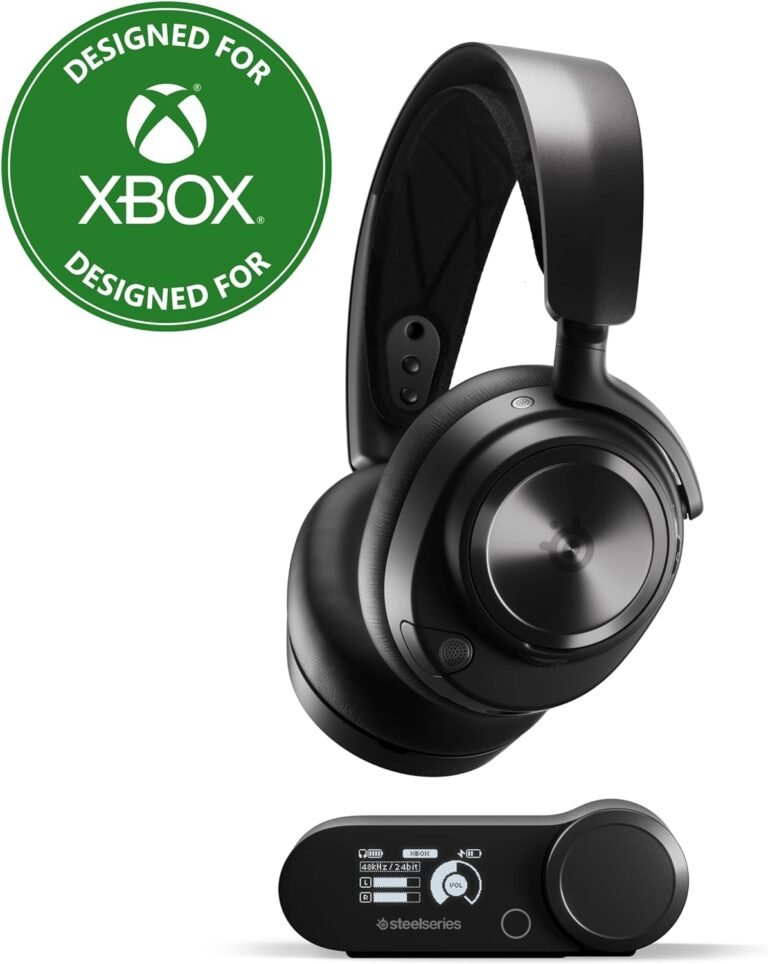
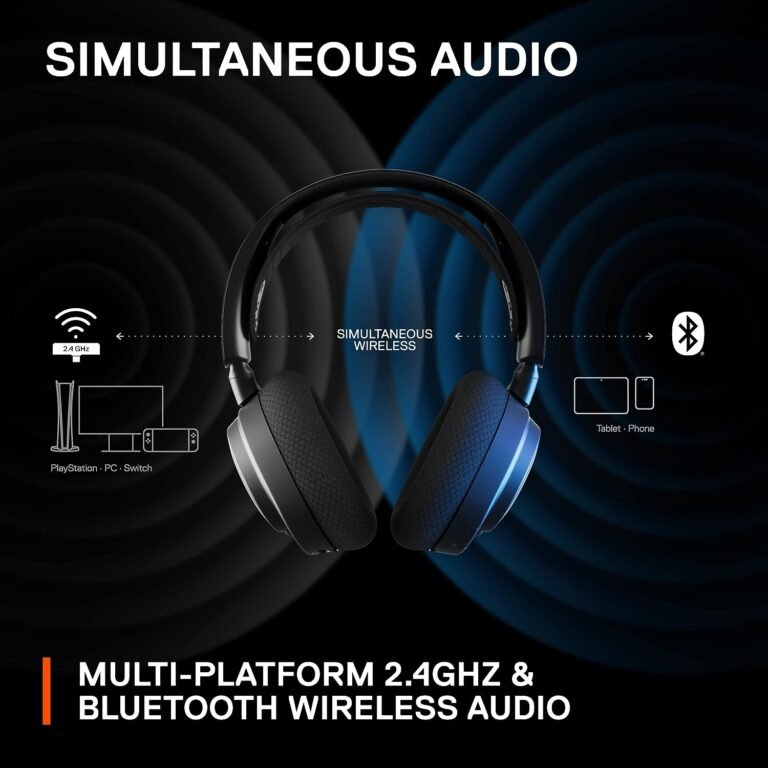
If your gaming headset supports wireless connectivity, you can connect it to your console without the hassle of cables. Wireless connections usually require some initial setup, so refer to your headset’s user manual for the specific instructions. In general, you will need to pair your headset with your console by following the provided steps. Once paired, you can enjoy the freedom of wireless gaming audio.
Software Configuration
After you have successfully connected your gaming headset to your PC or console, you may need to make some software configurations to ensure optimal performance and audio quality.
Updating drivers
It’s always a good idea to check for and update your headset’s drivers regularly. Manufacturers often release driver updates that can improve compatibility, fix bugs, and enhance performance. To update your headset’s drivers, visit the manufacturer’s website or use their software if provided. Follow the instructions provided to download and install the latest drivers for your headset.
Adjusting sound settings
Once you have connected your gaming headset, you may need to adjust the sound settings on your PC or console to optimize your audio experience. This includes adjusting the volume levels, equalizer settings, and any other audio enhancements that your device may offer. Experiment with different settings to find the balance that suits your preferences and ensures immersive gaming audio.
Adjusting Headset Settings
In addition to adjusting the software settings on your PC or console, you may also need to adjust the settings on your gaming headset itself to customize your experience further.
Microphone sensitivity
If your gaming headset has a built-in microphone, it’s essential to adjust the sensitivity settings to ensure clear and accurate voice transmission. Most headsets allow you to control the microphone sensitivity either through physical buttons or software settings. Experiment with different sensitivity levels to find the one that captures your voice effectively without picking up excessive background noise.
Volume control
Your gaming headset may have dedicated volume controls, allowing you to adjust the volume directly on the headset. This can be particularly useful during gameplay when you don’t want to disrupt the immersion by navigating through software menus. Familiarize yourself with the location and functionality of the volume controls on your headset for quick and convenient access to volume adjustments.
Troubleshooting
If you encounter any issues with your gaming headset, don’t worry. There are a few troubleshooting steps you can take to resolve common problems.
Check for updates
If your gaming headset is not functioning correctly, it’s worth checking for any firmware or software updates. Sometimes, an outdated version can lead to compatibility issues or performance problems. Visit the manufacturer’s website or use their software to check for any available updates and follow the instructions provided to install them.
Verify connections
Double-check all the connections between your gaming headset and your PC or console. Ensure that the cables are securely plugged in and that there are no loose connections. If you are using a wireless connection, make sure the headset is properly paired with your PC or console. Sometimes, a simple reconnection or cable adjustment can resolve connectivity issues.
Test the headset with another device
If you are still experiencing issues after checking the connections and updating the firmware, it can be helpful to test your gaming headset with another device. Connect your headset to a different PC or console and see if the problem persists. This will help determine if the issue is with your headset or with the original device you were using. If the headset works fine with another device, it suggests that there may be a problem with the original device’s settings or drivers.
Additional Tips and Recommendations
To enhance your gaming experience even further, here are a few additional tips and recommendations:
Consider a headset stand or holder
Investing in a headset stand or holder can help keep your gaming area organized and your headset safe. These accessories are designed to hold your headset when not in use, preventing it from getting tangled or damaged. Not only do they provide a practical solution for storage, but they can also add a touch of style to your gaming setup.
Use a separate microphone for better voice quality
While gaming headsets often come with built-in microphones, their quality may not always be ideal for voice communication. If you frequently engage in multiplayer games or participate in online discussions, consider investing in a separate microphone for better voice quality. Dedicated microphones offer superior audio capture and can greatly enhance your communication experience during gameplay.
By following these easy steps to connect your gaming headset to your PC or console, you can enjoy immersive gaming audio and clear voice communication during gameplay. Remember to check the compatibility, have the necessary cables, and make sure your headset is charged or has fresh batteries. Connect the headset through the appropriate method, adjust software and headset settings, and troubleshoot any issues that may arise. With a properly connected and configured gaming headset, you can dive into your favorite games and enjoy an enhanced audio experience like never before.
